

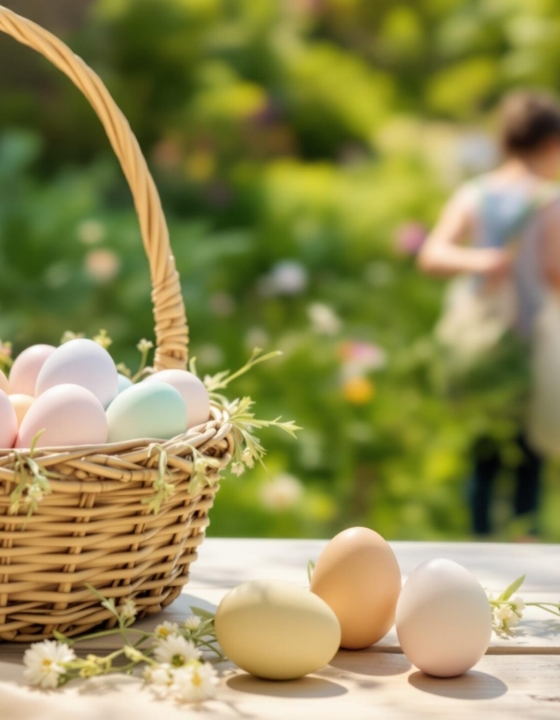
Dyeing Easter eggs with natural colors is a creative and eco-friendly way to celebrate the season. Instead of using synthetic dyes and store-bought kits, you can turn everyday ingredients into beautiful dyes.
Using natural dyes is better for the environment, and better for your family. Here is how to get started.
Gather Your Ingredients
The first step is to choose your natural dye sources.
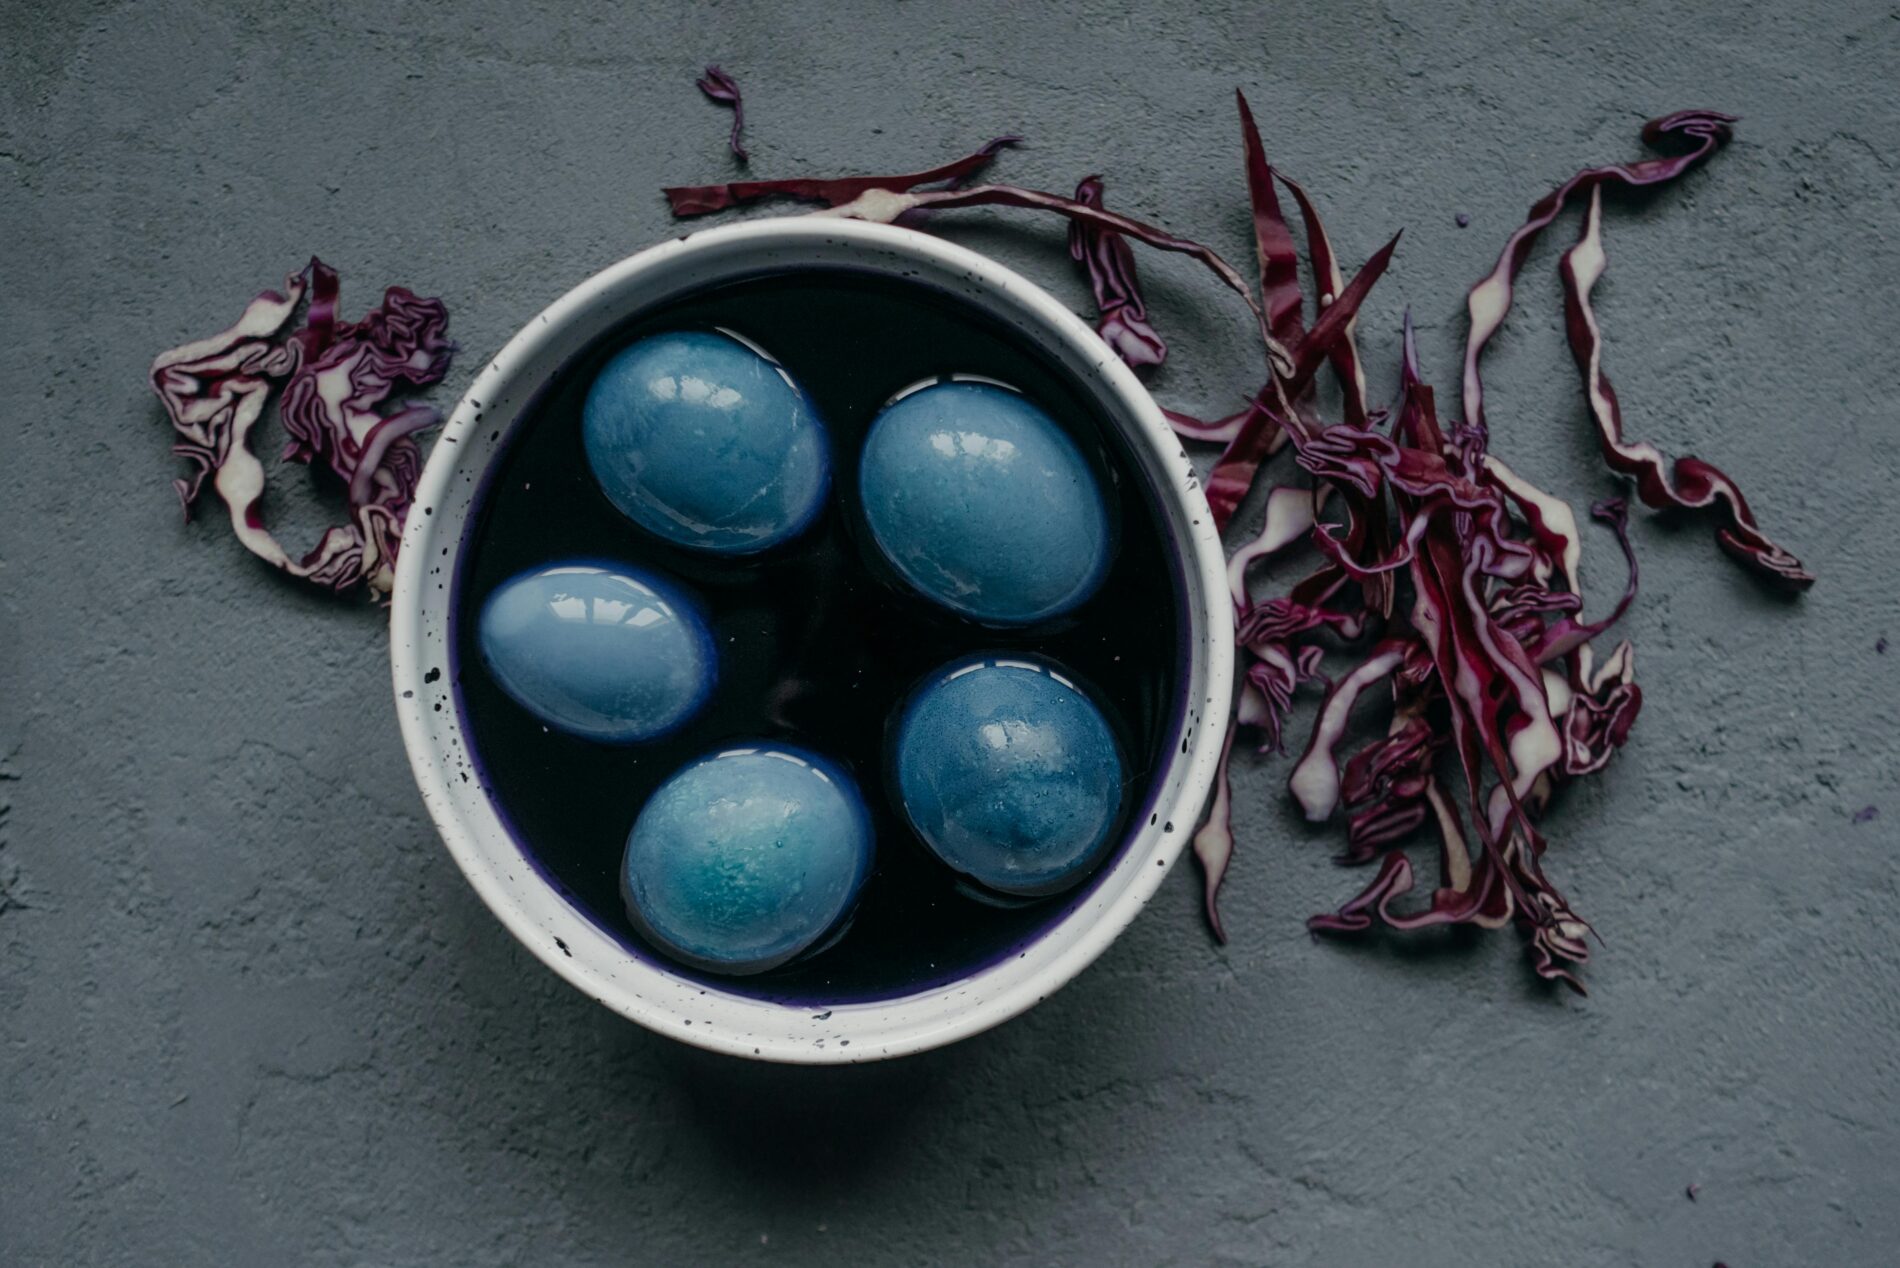
Red cabbage creates beautiful blues, onion skins give warm oranges and browns, turmeric adds a bright yellow, and beets lend soft pinks and reds. You can also experiment with other ingredients like spinach, purple grape juice, hibiscus tea, or blueberries.
You’ll also need white eggs, vinegar, and water.
Making the Dye Baths
To create your dyes, chop or prepare your ingredients and simmer them in water—about two cups of water per cup of dye material.
Let the mixture simmer for about 30 minutes, then strain out the solids.
Once the liquid is slightly cooled, stir in a tablespoon or two of white vinegar to help the color adhere to the eggshells.
Dyeing the Eggs
Boil your eggs separately and let them cool.
Once your natural dyes are ready, submerge the eggs in the dye baths.
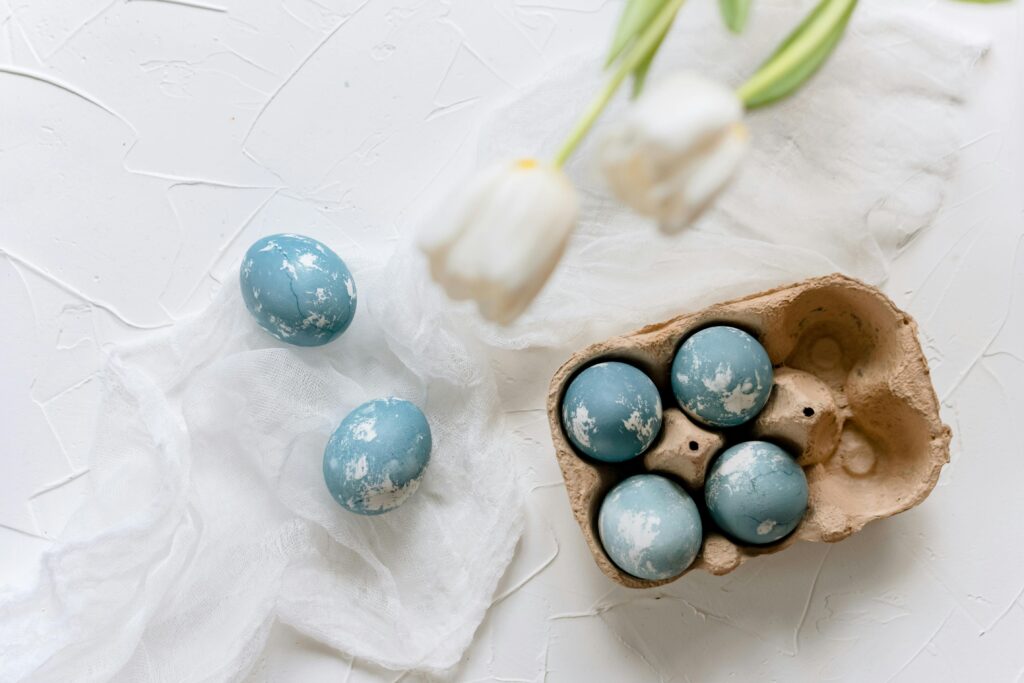
For soft, pastel tones, leave the eggs in the dye for 30 minutes to an hour. For deeper, richer colors, refrigerate the eggs in the dye overnight.
The color results may vary depending on the dye ingredient, how long the egg sits in the dye, and the natural tone of the eggshell.
Creative Touches and Patterns
Before dyeing, you can wrap your eggs with rubber bands for stripes or press leaves against the shells and wrap them in nylon to create botanical prints. After dyeing, let the eggs dry completely. For a soft sheen, rub them gently with a bit of oil once they’ve dried.


What do you think?